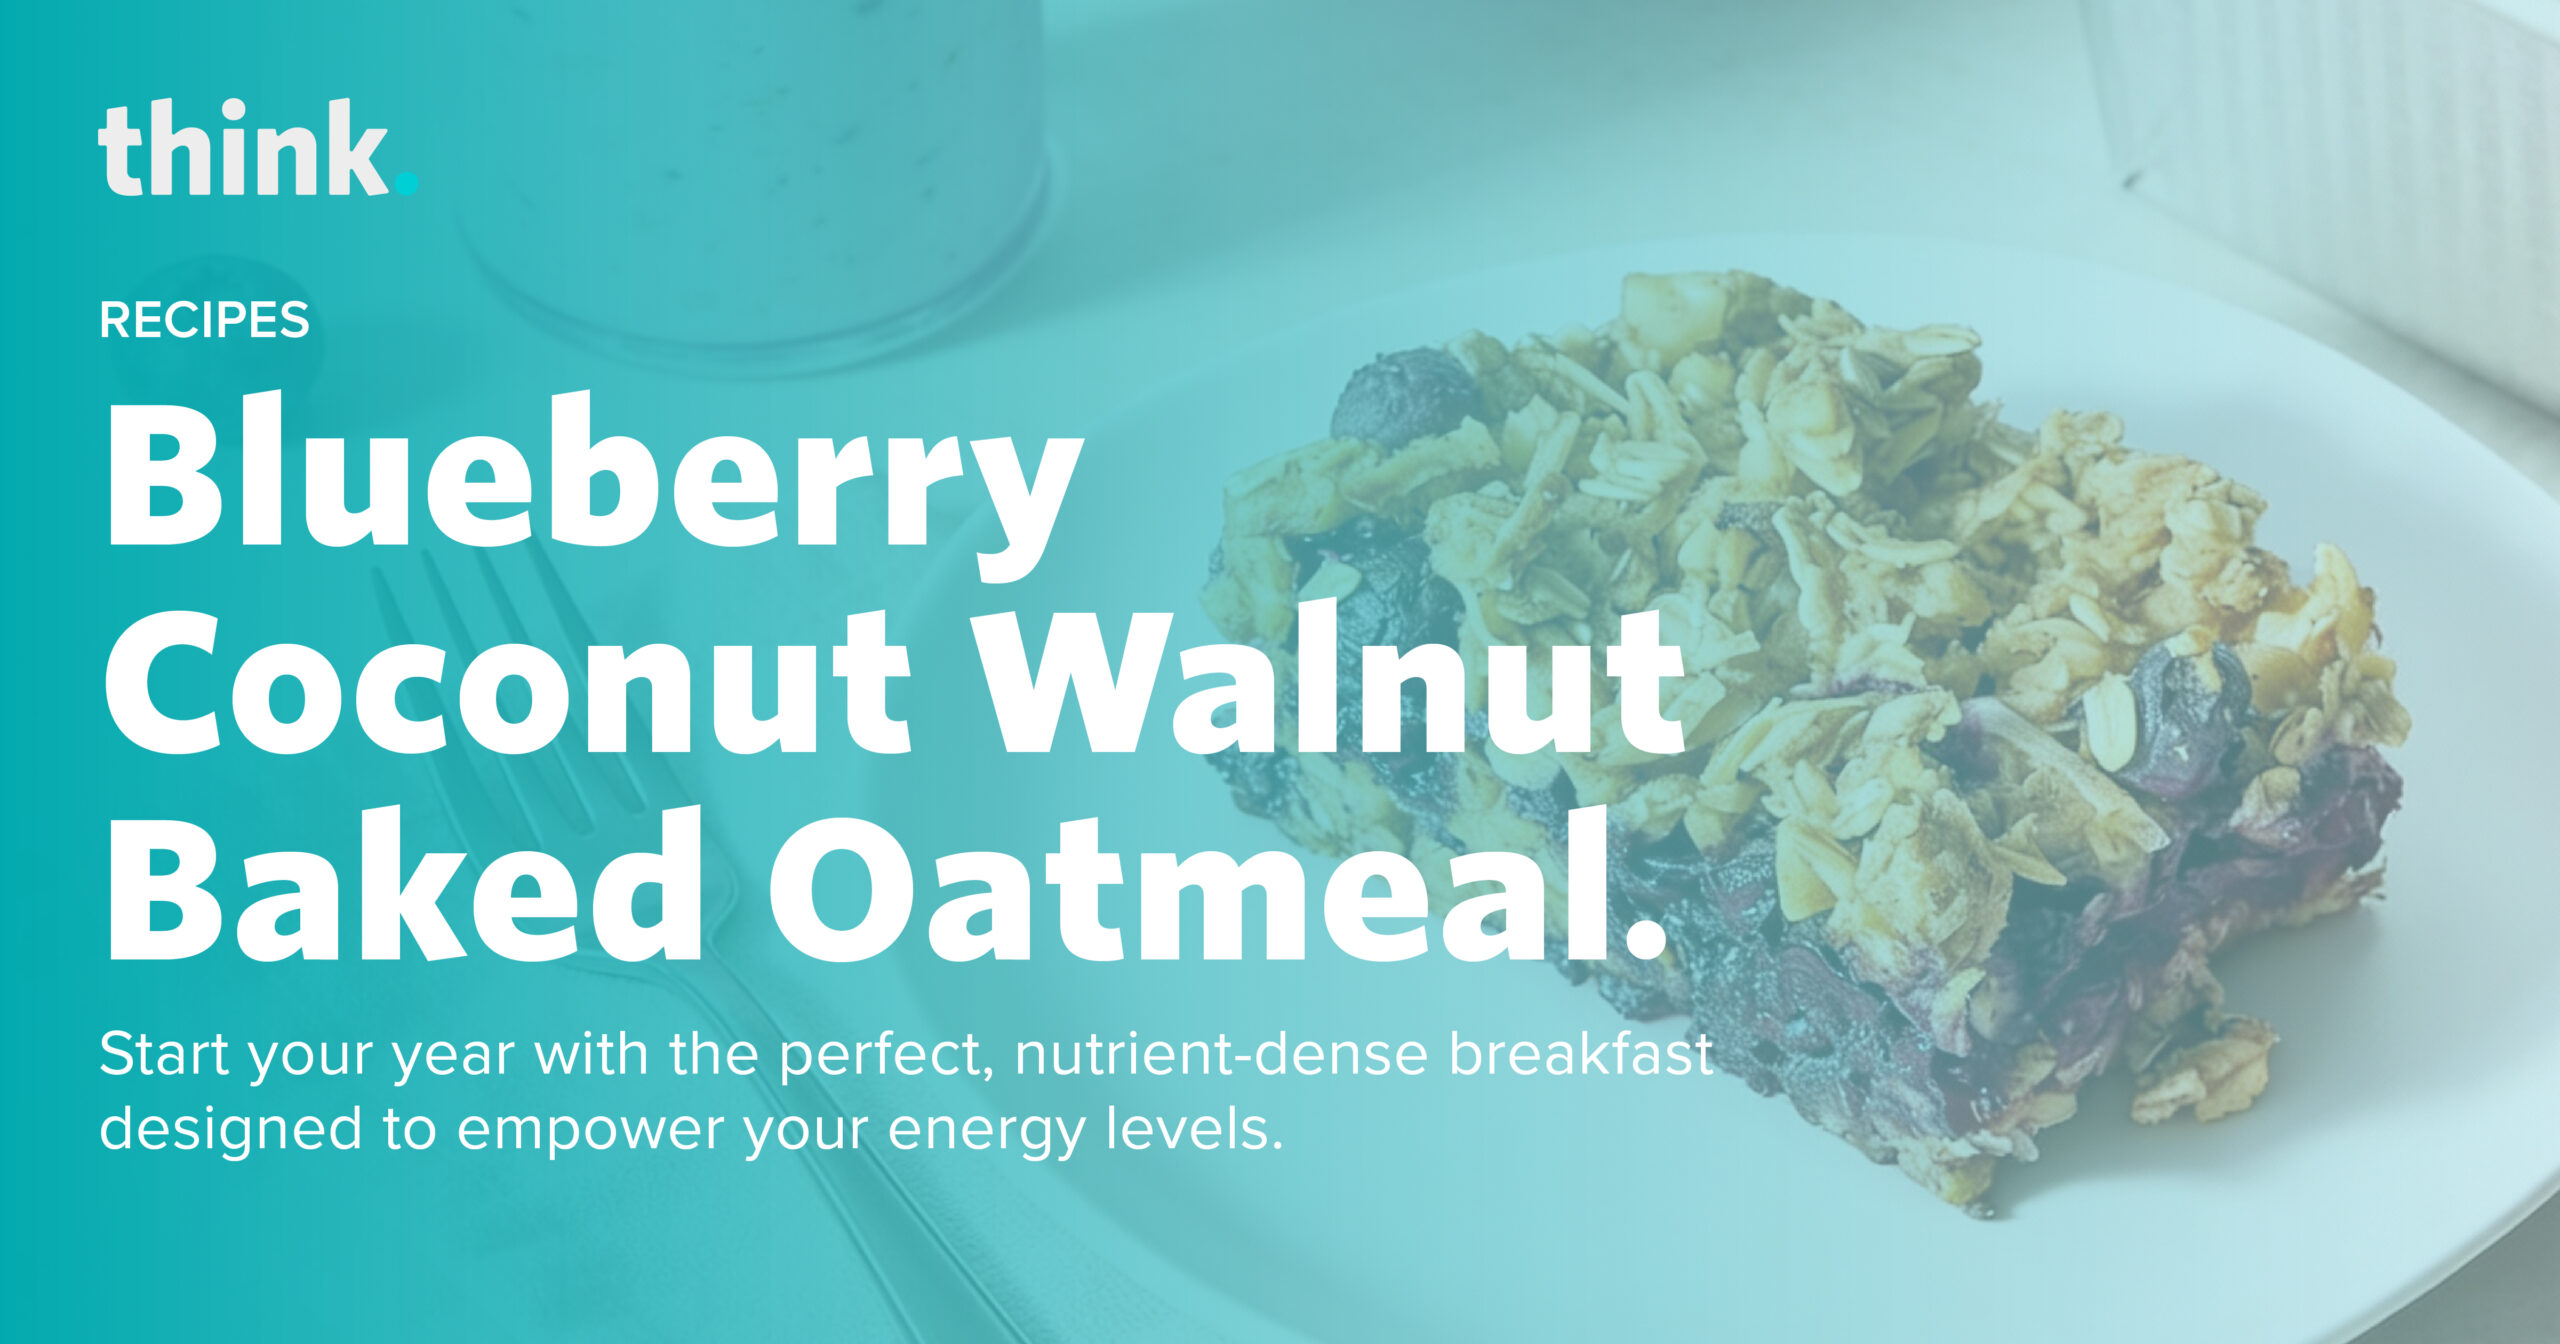





Blueberry Walnut Bake and Protein Smoothie.

Blueberry Walnut Bake and Protein Smoothie.

Blueberry Walnut Bake and Protein Smoothie.

A hearty, fiber-rich breakfast that supports heart health and cognitive function with a simple, three-ingredient solution for a quick protein and antioxidant boost.

We believe that providing your body with high-quality fuel is a fundamental step in proactive wellness. These two breakfast options focus on whole-food ingredients that support heart health and sustained energy without the need for added sugars or complex preparations. By choosing nutrient-dense foundations like oats, walnuts, and berries, you are not just eating a meal; you are managing your long-term health through simple, effective daily habits.

These recipes are designed to fit seamlessly into a busy lifestyle while prioritizing “whole person” nutrition. The baked oatmeal offers a perfect balance of fiber and omega-3 fatty acids to keep you satiated and focused throughout the morning, while the fruit and yogurt smoothie provides a quick, calcium-rich protein boost. Whether you are preparing a batch for the week ahead or blending a refreshing snack, these recipes empower you to take control of your well-being, one bite at a time.

Prep Time
28 mins
Cook Time
30 – 35 mins
Total Time
60 – 65 mins

Blueberry-Coconut-Walnut Baked Oatmeal

Ingredients

  • The Date Paste: ½ cup dried pitted Medjool dates (chopped) + 8 tbsp hot water (divided)
  • The Fruit Base: 2 cups frozen blueberries + 1 tbsp water + ½ tsp vanilla extract
  • The Liquid Mix: ½ cup unsweetened coconut milk + 1 ripe medium banana + 1 large egg + 2 tsp coconut extract + 2 tsp vanilla extract
  • The Dry Mix: 2 ¼ cups old-fashioned rolled oats + 1 ½ cups chopped walnuts + ¾ cup toasted unsweetened shredded coconut + 1 tsp baking powder + 1 tsp cinnamon + ¼ tsp salt
  • Folder-In: 1 cup frozen blueberries

Instructions

Step 1: Prep

Preheat oven to 375°F. Coat an 8-inch square pan with cooking spray.

Step 2: Soften

Soak dates in hot water for 20 minutes. Drain and pulse in a food processor, slowly adding 7 tbsp hot water to form a smooth paste.

Step 3: Simmer

Combine the fruit base ingredients in a saucepan. Bring to a boil, then simmer until thickened (6–8 minutes).

Step 4: Blend

Add coconut milk, banana, egg, and extracts to the date paste; process until smooth.

Step 5: Combine

Mix the dry ingredients in a large bowl. Stir in the date-banana mixture, then fold in the remaining 1 cup of blueberries.

Step 6: Layer & Bake

Spread half the oat mixture in the pan, layer the blueberry sauce over it, and top with the remaining oats. Bake for 30–35 minutes until set. Let cool for 10 minutes.

Fruit & Yogurt Smoothie

Ingredients

  • ¾ cup nonfat plain yogurt (or Greek-style for higher protein)
  • ½ cup 100% pure fruit juice (no added sugar)
  • 1 ½ cups frozen fruit (blueberries, raspberries, or peaches)

Instructions

Step 1: Start with Liquids

Place the yogurt and fruit juice in the blender first. Puree until smooth.

Step 2: Add Fruit

With the motor running, gradually add the frozen fruit through the lid opening.

Step 3: Final Blend

Continue to puree until the consistency is thick and smooth. Serve immediately.

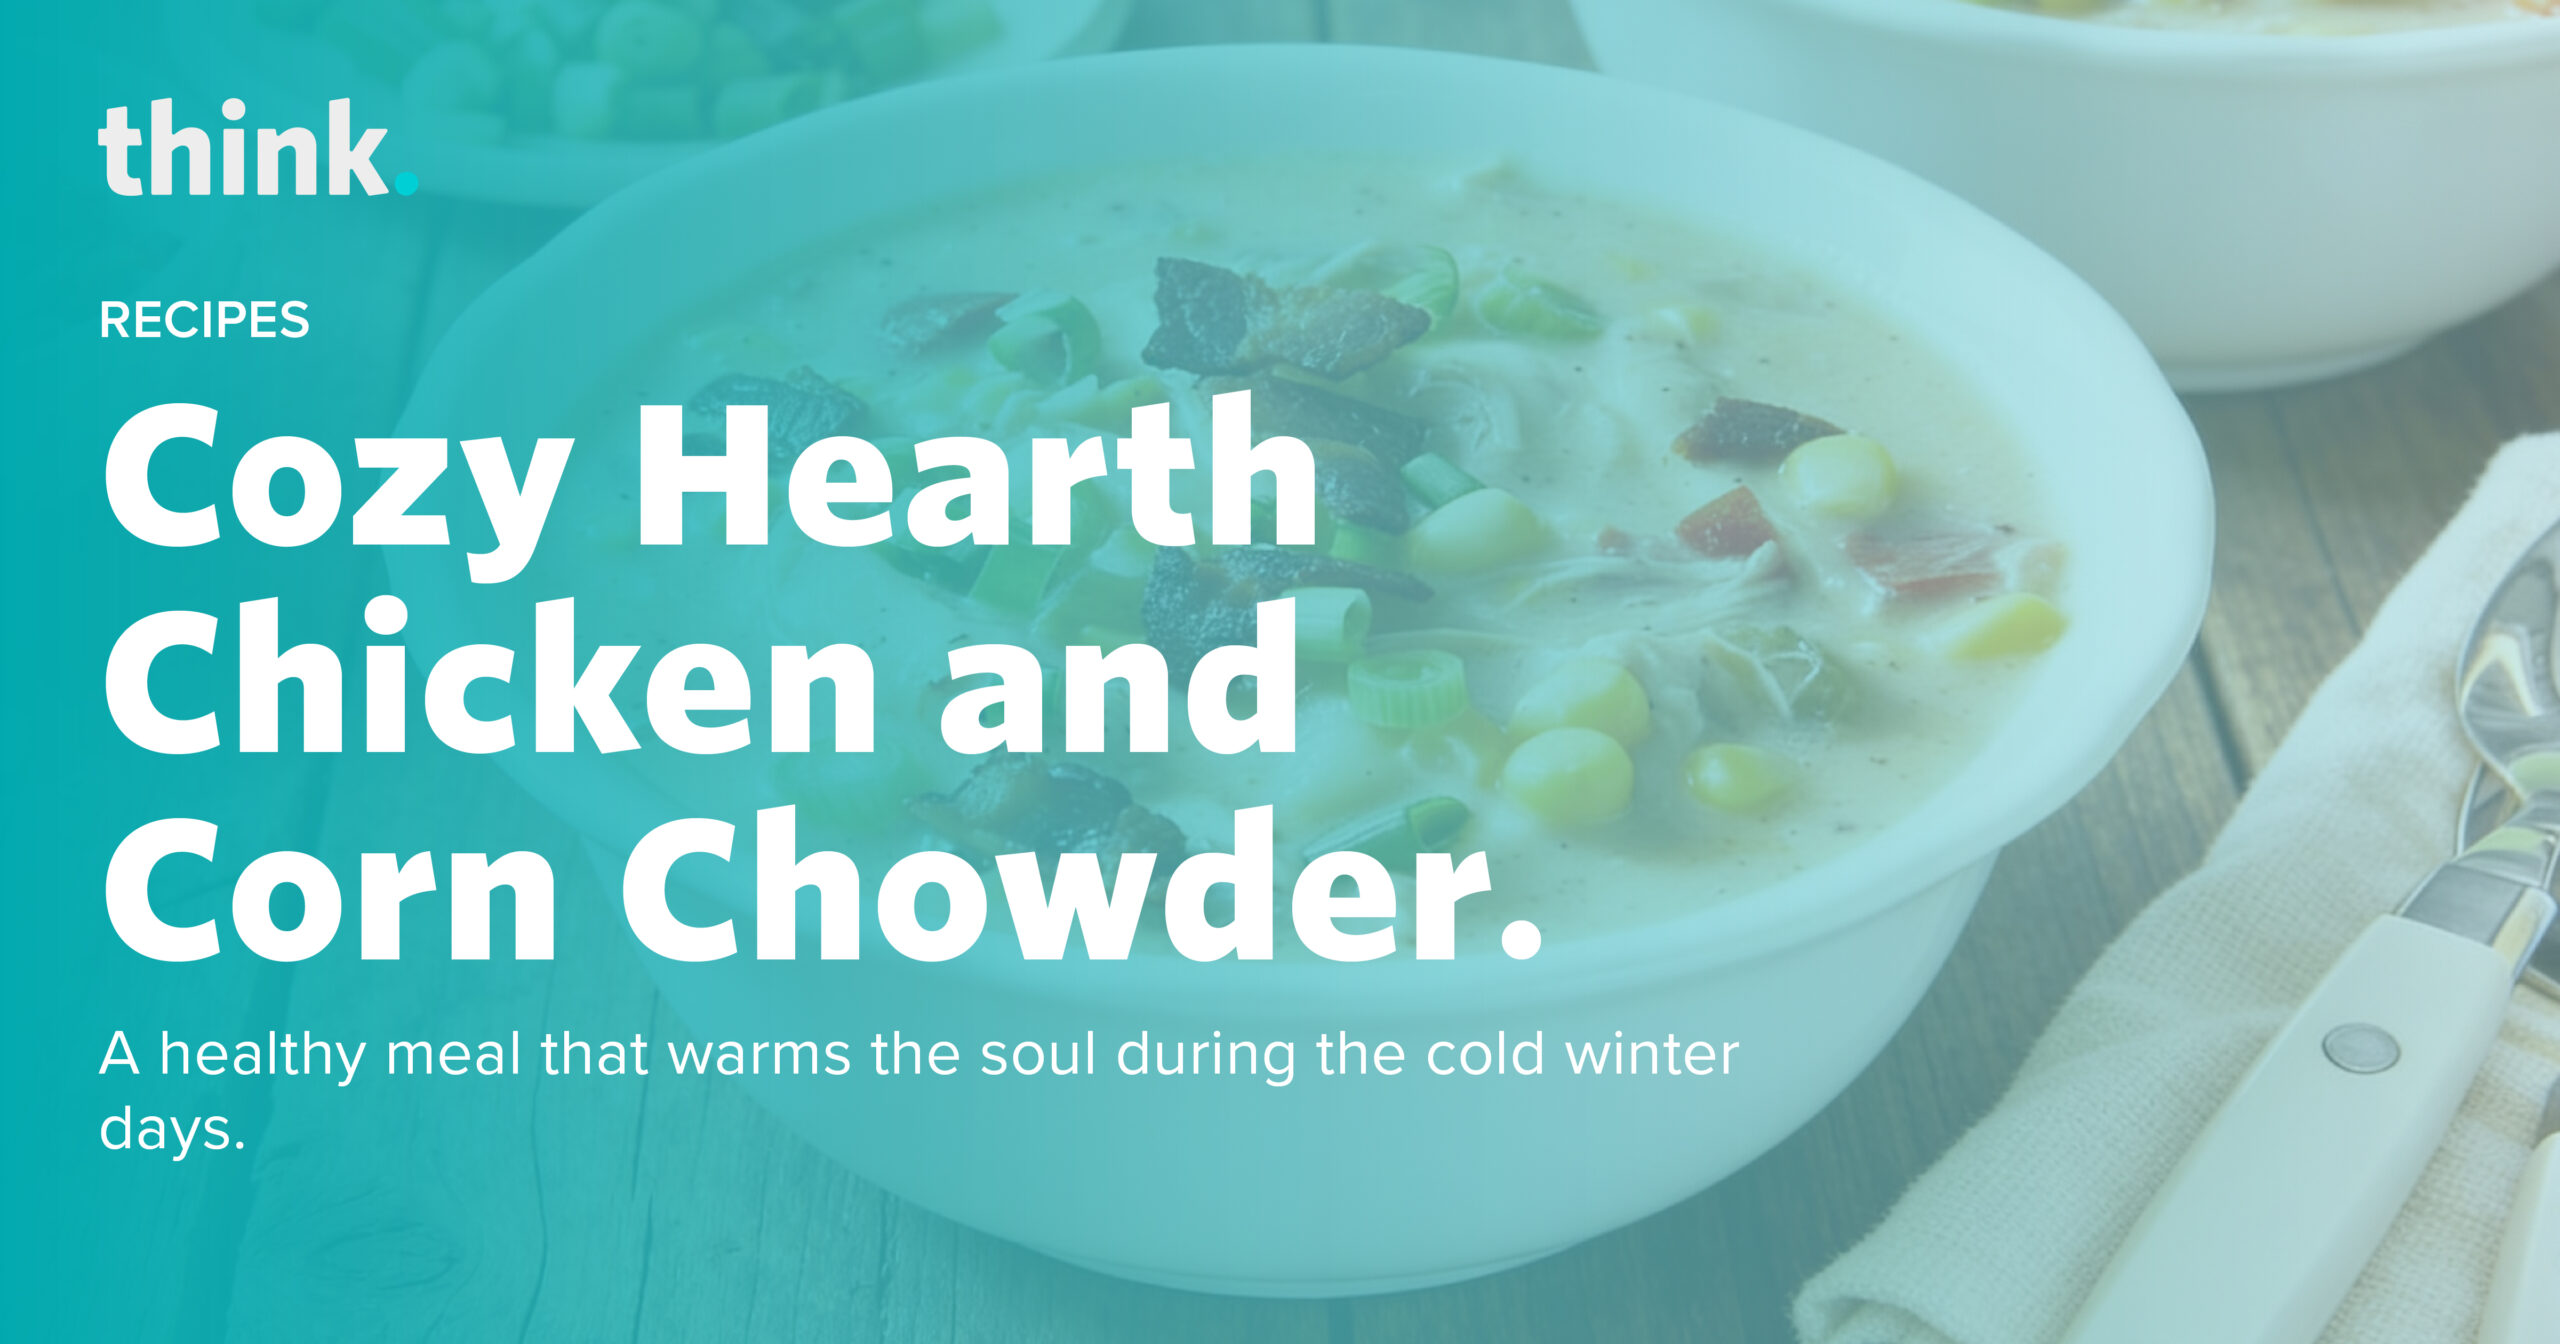
Cozy Hearth Chicken and Corn Chowder.

Cozy Hearth Chicken and Corn Chowder.

A simple recipe that’s both sweet and spicy.

Our hearty chowder combines lean protein with nutrient-dense vegetables for a balanced cold-weather meal. The recipe utilizes whole ingredients to provide warmth and sustained energy.

The classic chowder offers a powerful nutritional profile ideal for winter maintenance. The chicken provides high-quality protein essential for immune function and muscle repair, while the corn and potatoes offer complex carbohydrates for sustained energy in colder temperatures. The addition of onions, celery, and bell peppers provides essential fiber and antioxidants that support digestive health and help combat seasonal oxidative stress. By cooking at home, you also control the sodium levels, avoiding the excessive salt often found in processed canned soups.

Beyond basic nutrition, warm, substantial meals play a role in mental well-being during the winter months. The thermal effect of hot soup helps regulate body temperature, promoting a physical sense of safety and relaxation known as the “rest and digest” state. This psychological comfort can help counteract the stress and low mood associated with shorter days and reduced sunlight. Taking the time to prepare a wholesome meal allows for a mindful pause in your day, reinforcing a positive relationship with food and self-care.

Prep Time
16 mins
Cook Time
26 mins
Total Time
42 mins

Servings: 6 – 8

Ingredients

What to buy at the store?

  • 6 slices bacon, chopped (optional)
  • 2 tbsp unsalted butter
  • 1 large yellow onion, chopped
  • 3 stalks celery, chopped
  • 1 red bell pepper, chopped
  • 2 garlic cloves, finely chopped
  • 1/3 cup all-purpose flour
  • 6 cups chicken stock
  • 2 medium russet potatoes, peeled and chopped
  • 4 cups corn kernels (fresh or frozen)
  • 3 cups shredded cooked chicken (rotisserie chicken works well)
  • 1 cup heavy cream (or half-and-half for a lighter option)
  • 3 green onions, chopped for garnish
  • 1 tsp salt
  • 1 tsp black pepper

Instructions

Step One: Render the Bacon 

In a Dutch oven or large pot over medium heat, cook the chopped bacon until crisp (5–8 minutes). Remove the bacon to a paper towel-lined plate, reserving the drippings in the pot.

Step Two: Sauté Vegetables

Add the butter to the pot with the drippings. Once melted, add the onion, celery, and bell pepper. Cook for 4 minutes until softened. Stir in the garlic and cook for an additional 30 seconds.

Step Three: Create the Base

Sprinkle the flour over the vegetables and stir constantly for 1 minute to cook out the raw flour taste. Gradually whisk in the chicken stock to ensure no lumps form.

Step Four: Simmer

Add the chopped potatoes, salt, and pepper. Bring the mixture to a simmer and cook for approximately 10 minutes, or until the potatoes are tender when pierced with a fork.

Step Five: Finish the Chowder 

Stir in the corn, cooked chicken, and cream. Return to a simmer and cook for another 10–15 minutes until the soup has thickened slightly.

Step Six: Serve

Ladle into bowls and top with the reserved crispy bacon and fresh green onions.

Leftover Turkey Sweet Potato Enchilada Skillet.

Leftover Turkey Sweet Potato Enchilada Skillet.

A simple recipe that’s both sweet and spicy.

Tired of the same old turkey leftovers? Transform your holiday meal into a new, single-pan concept. We cut the complexity—literally—by tearing tortillas into strips instead of rolling them. The result is a quick-prep skillet where sweet potatoes and turkey balance the savory enchilada sauce. This mix delivers a simple, sweet-and-spicy flavor profile while providing fantastic nutritional support: lean protein from the turkey, fiber and Vitamin A from the sweet potatoes, and magnesium from the black beans. It’s a complete, straightforward meal that empowers you to manage post-holiday recovery effectively.

Prep Time
10 mins
Cook Time
20 mins
Total Time
30 mins

Servings: 4-6

Ingredients

What to buy at the store?

The Basics:

  • 1 tbsp extra virgin olive oil
  • 1 small yellow onion, diced
  • 2 cloves garlic, minced
  • 1 jalapeño, seeded and diced (optional, for heat)

The Filling:

  • 2 cups cooked turkey, shredded or chopped (perfect for Thanksgiving leftovers)
  • 1 ½ cups cooked sweet potatoes, cubed (roasted or steamed)
  • 1 (15 oz) can black beans, rinsed and drained
  • 1 cup corn (frozen, fresh, or canned)
  • 1 (15 oz) can red enchilada sauce (or homemade)
  • ½ tsp ground cumin
  • ½ tsp chili powder

The Skillet:

  • 6–8 corn tortillas, cut into 1-inch strips
  • 1 cup shredded cheddar or pepper jack cheese (or a Mexican blend)

Garnish (Optional):

  • Fresh cilantro, chopped
  • Diced avocado
  • Greek yogurt or sour cream
  • Lime wedges

Instructions

Step One: Sauté Aromatics

Heat the olive oil in a large, oven-safe skillet over medium-high heat. Add the onion, garlic, and jalapeño (if using). Sauté for 3–5 minutes until the onion softens and becomes fragrant.

Step Two: Build the Base

Add the shredded turkey, cooked sweet potatoes, black beans, corn, cumin, and chili powder to the skillet. Pour in the enchilada sauce and stir well to combine.

Step Three: Simmer

Bring the mixture to a gentle simmer. Let it bubble for about 5 minutes to allow the flavors to meld and the turkey to warm through.

Step Four: Add Tortillas

Stir the corn tortilla strips into the skillet, ensuring they are well-coated in the sauce. Cook for another 2–3 minutes until the tortillas soften slightly and absorb some of the flavor.

Step Four: Melt the Cheese

Sprinkle the shredded cheese evenly over the top of the skillet. Cover with a lid and cook for 2–3 minutes until the cheese is fully melted. Alternative: If your skillet is oven-safe, you can place it under the broiler for 2–3 minutes to brown the cheese slightly.

Step Four: Serve

Remove from heat. Top with fresh cilantro, avocado, and a dollop of Greek yogurt. Serve immediately with lime wedges on the side.

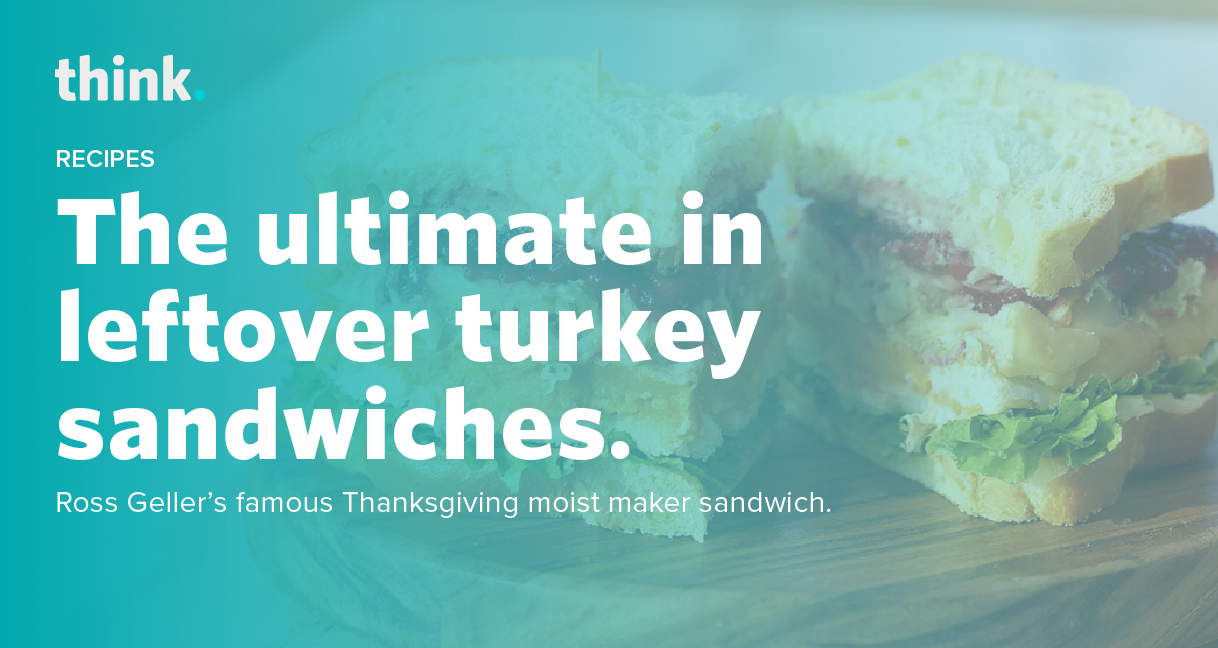
The ultimate leftover turkey sandwich.

The ultimate leftover turkey sandwich.

Ross Geller’s famous Thanksgiving moist maker sandwich.

When you are handling the inevitable abundance of Thanksgiving leftovers, you face a challenge: how do you transform the remains of the feast into something truly amazing? Forget the light fare; the new goal is to recreate the legendary sandwich invented by Dr. Ross Geller in the iconic sitcom Friends. He protected this masterpiece fiercely, and its success hinges on one specific, simple layer that changes everything about the standard turkey sandwich.

The secret to this two-story tower is the Moist Maker: a third slice of bread fully soaked and submerged in warm gravy. The indulgence moves the recipe far from any health-focused plan, but it guarantees maximum flavor and fun, making it an entirely worthy endeavor. Our recipe guides you through the simple steps you need to create this famous, over-the-top sandwich, honoring the original vision for a truly unforgettable meal.

Prep Time10 minsCook Time10 minsTotal Time20 mins

Servings: 1 – 2

Ingredients

What to buy at the store?

  • 3 slices of thick-cut bread
  • 1 cup of chopped turkey breast
  • 1 cup of gravy (Turkey or Chicken)
  • 1 cup of stuffing
  • 1/2 cup of cranberry sauce
  • 3 tablespoons of mayonnaise (e.g., Kewpie)
  • Romaine lettuce
  • Tomatoes
  • Sweet and Spicy BBQ Sauce (e.g., Sweet Apple Chipotle)
  • Hot Chili Rub or Spice Blend (e.g., Dirty Bird HOT Rub)

Instructions

Step One: Develop the components

Gently warm the leftover turkey, gravy, and any sauces you plan to use.

Step Two: Establish the foundation

Toast all three slices of bread. Spread mayonnaise on two of the slices. These will form the top and bottom of the final concept.

Step Three: Manage the ‘Moist Maker’

Take the third slice of bread (the one without mayo). Oversee its complete submersion into the warm gravy. Ensure the slice soaks up as much gravy as possible. This simple step is the key to the sandwich.

Step Four: Build the Two Halves

Place the two mayo-spread slices side-by-side. On each slice, layer the remaining components in this order:

  • Romaine lettuce
  • 1 slice of tomato
  • Turkey
  • Stuffing

Step Five: Flavor Integration

Drizzle one half with the Sweet and Spicy BBQ Sauce. Drizzle the other half with the cranberry sauce. Sprinkle both halves with the hot chili rub or spice blend.

Step Six: Final Assembly

Place the gravy-soaked “Moist Maker” slice directly on top of the BBQ sauce half. Then, flip that entire stack and carefully set it on top of the cranberry sauce half. You have now developed a massive, two-story sandwich. Slice and enjoy the result of this ambitious project.

Butternut Squash Mac and Cheese.

Butternut Squash Mac and Cheese.

A vibrant fall dish that truly demonstrates how a simple ingredient swap can make everyday meals both delicious and health-conscious.

Autumn is the season for comforting meals, and nothing satisfies quite like a creamy bowl of Mac and Cheese. This version transforms the classic recipe by incorporating a Thanksgiving vibe with a smooth butternut squash purée directly into the cheese sauce. It is a simple addition that maintains the rich, velvety texture you expect from a great macaroni and cheese, while adding a vibrant fall color to the dish. It is a satisfying meal to be enjoyed by the whole family.

Healthwise, the recipe supports your whole health by adding significant nutritional value to a favorite comfort food. Butternut squash is a source of fiber, Vitamin A, and Vitamin C, offering a natural boost to your immune system and digestive health. By using the squash to enhance the creaminess of the sauce, we rely less on butter and heavy cream, lowering the saturated fat content of the dish. It truly demonstrates how simple ingredient swaps can make everyday meals both delicious and health-conscious.

Prep Time
15 mins
Cook Time
30 mins
Total Time
45 mins

Ingredients

What to buy at the store?

For the Pasta:

  • 1 pound whole wheat elbow macaroni or pasta shape of choice
  • Salt for boiling water

For the Sauce:

  • Salt and black pepper to taste 
  • 3 cups cubed butternut squash (about 1 small squash)
  • 1 tablespoon olive oil
  • 2 tablespoons butter
  • 2 tablespoons all-purpose flour
  • 2 cups milk (dairy or non-dairy)
  • 1/2 teaspoon garlic powder
  • 1/4 teaspoon nutmeg
  • 1/4 teaspoon paprika

Instructions

Step One: Prepare the Squash

Preheat the oven to 400°F (200°C). Toss the cubed butternut squash with olive oil and a pinch of salt on a baking sheet. Roast for 15 to 20 minutes, or until the squash is tender.

Step Two: Cook the Pasta

While the squash roasts, cook the macaroni according to package directions until al dente. Drain the pasta and set it aside.

Step Three: Make the Roux

In a large saucepan, melt the butter over medium heat. Whisk in the flour and cook for 1 minute until a paste forms.

Step Four: Build the Sauce Base

Slowly pour in the milk, whisking continuously to prevent lumps. Continue to heat and whisk until the sauce thickens slightly (about 5-7 minutes).

Step Five: Blend the Squash

Transfer the roasted butternut squash to a blender or food processor. Add about 1/2 cup of the milk sauce and blend until completely smooth.

Step Six: Finish the Sauce

Pour the smooth squash mixture back into the saucepan with the remaining sauce. Stir in the garlic powder, nutmeg, and paprika. Remove the pan from the heat and stir in the shredded cheese until the sauce is smooth. Season with salt and pepper.

Step Seven: Combine

Add the cooked, drained pasta to the cheese sauce. Stir gently until the macaroni is evenly coated. Serve immediately.

Pro Tip

If you prefer a baked mac and cheese, transfer the mixture to a baking dish, sprinkle the top with breadcrumbs, and bake at 375°F (190°C) for 15 minutes, or until the top is golden.

Our team in the Halloween Spirit.

Our team in the Halloween Spirit.

Our team recently got into the spirit of the season by celebrating Halloween with a range of creative costumes. Seeing the various outfits brings a reminder of the unique perspectives and imagination that each team member brings to think. It was a fun day celebrating today!

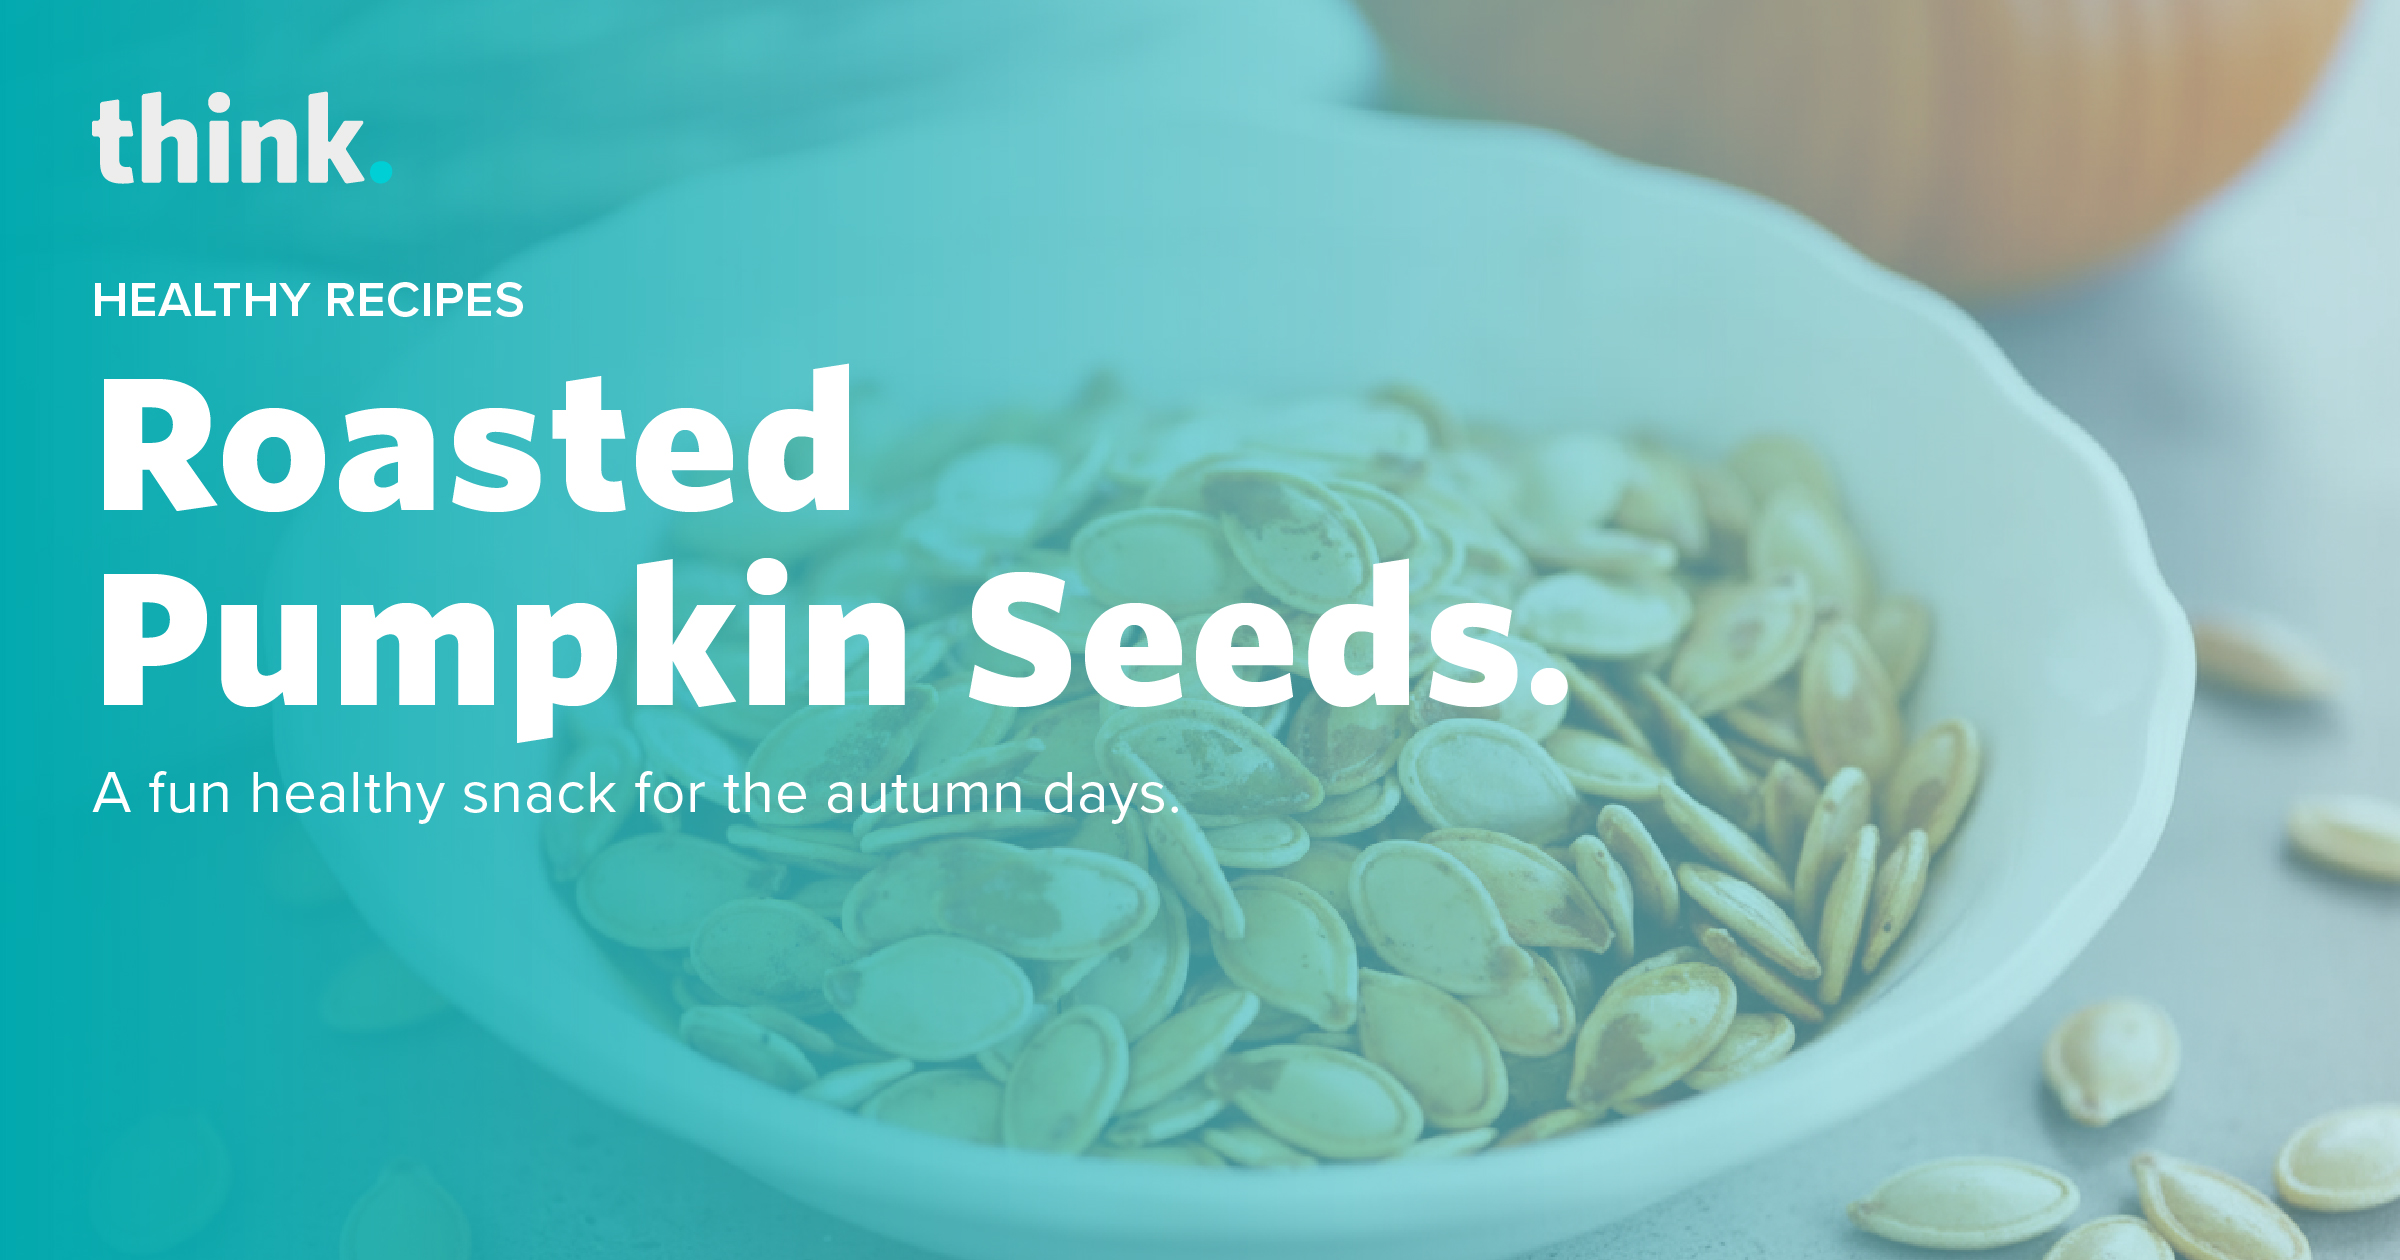
Roasted Pumpkin Seed Recipe.

Roasted Pumpkin Seed Recipe.

A fun healthy snack for the autumn days.

Don’t let those pumpkin seeds go to waste after carving your Halloween pumpkin! Our simple and fun recipe is a great way to make a homemade healthy, seasonal snack. Roasting pumpkin seeds requires minimal effort, transforming a byproduct into a satisfyingly crunchy treat. It’s an effective way to make sure nothing is wasted while creating something delicious.

This basic recipe results in perfectly roasted, salty seeds. Once you have the basics, you can imagine endless flavor combinations from spicy to savory or sweet, adapting the snack to any of your cravings. Turn this simple ingredient into an extraordinary fall favorite.

Prep Time
10 mins
Cook Time
15-20 mins
Total Time
30 mins

Ingredients

  • Seeds from one pumpkin
  • 1 tbsp olive oil or melted butter
  • 1 tsp salt (or more, to taste) 

Instructions

Step One: Separate and Rinse

Scoop the seeds and pulp from the pumpkin into a large bowl. Fill the bowl with water and use your hands to separate the seeds. The seeds will float, while the stringy pulp tends to sink.

Step Two: Dry Completely

Transfer the rinsed seeds to a colander and drain well. Spread them in a single layer on a clean kitchen towel and pat them thoroughly dry. For maximum crispiness, let the seeds air-dry overnight.

Step Three: Season the Seeds

Toss the dried seeds in a bowl with olive oil and salt until evenly coated.

Step Four: Roast

Spread the seasoned seeds in a single layer on a parchment-lined baking sheet. Bake at 350°F (175°C) for 15–20 minutes, stirring halfway through, until golden brown and crispy.

Step Five: Cool and Store

Let the seeds cool on the baking sheet for at least 10 minutes before eating. Store in an airtight container at room temperature for up to two weeks. 

Flavor variations

Experiment with different spices to create sweet, spicy, or savory roasted pumpkin seeds. 

Spicy options: 

  • Smoky and spicy: Add 1 tsp smoked paprika and ¼ tsp cayenne pepper.
  • Southwest style: Use 1 tsp chili powder, ½ tsp ground cumin, and a pinch of cayenne. 

Savory options: 

  • Everything bagel: Add everything bagel seasoning for a savory and garlicky crunch.
  • Garlic and herbs: Use 1 tsp garlic powder, ½ tsp onion powder, and ½ tsp Italian seasoning.
  • Cheesy: Mix with grated Parmesan cheese and a bit of cracked black pepper. 

Sweet options: 

  • Cinnamon sugar: Add 1 tsp ground cinnamon and 2 tbsp of brown sugar or maple syrup for a dessert-like treat.
  • Honey cinnamon: Toss with a tablespoon of honey and a teaspoon of cinnamon before roasting. 

Tips

  • Boil for salty flavor: For deeply seasoned seeds, boil them in salted water for 10 minutes after cleaning. This allows the salt to penetrate the shells before roasting.
  • Single layer is key: To ensure the seeds roast evenly and get crispy, avoid overcrowding the baking sheet.
  • Watch closely: Pumpkin seeds can go from perfectly toasted to burnt very quickly, so keep an eye on them, especially during the final minutes. 

Pull Apart Pizza Slider

Pull Apart Pizza Slider

A comfort food recipe that’s good for the soul bringing warmth and comfort to your fall evenings.

On a cool Friday night or a cozy weekend, a dish that’s good for the soul can make a movie night special. Pizza Pull-Apart Sliders are a simple concept that brings warmth and comfort to your fall evenings. They capture the classic flavors of pizza in an easy-to-share format, making them an ideal project for a relaxing night in. The aroma of melted cheese and savory Italian seasonings filling your home will make any evening feel a little more extraordinary.

While these sliders offer comfort, their health aspects can be managed with a focus on ingredients. You can empower a healthier version by using whole wheat rolls or a reduced-fat cheese option. Instead of a processed meat, consider using lean ground turkey or a variety of chopped vegetables like mushrooms, onions, or bell peppers. This approach allows you to keep the core idea of the recipe while adapting it to fit a more balanced diet.

Prep Time
10 – 15 mins
Cook Time
20 – 25 mins
Total Time
30 – 40 mins

Servings: 4

Ingredients

What to buy at the store?

  • 1 (12-count) package of Hawaiian sweet rolls
  • 1 pound pre-cooked Italian sausage or pepperoni
  • 1 1/2 cups shredded mozzarella cheese
  • 1 cup pizza or marinara sauce
  • 1/4 cup melted butter
  • 1 teaspoon garlic powder
  • 1 teaspoon dried Italian seasoning
  • 1/2 teaspoon crushed red pepper flakes (optional)
  • 2 tablespoons grated Parmesan cheese

Instructions

Step One: Preheat 

Preheat your oven to 350°F (175°C). Use a serrated knife to carefully slice the entire block of rolls in half horizontally, keeping all the rolls connected. Place the bottom half of the rolls in a 9×13 inch baking dish.

Step Two: Stir the Pot

Spread the pizza or marinara sauce evenly over the bottom layer of rolls. Distribute the pre-cooked sausage or pepperoni over the sauce, then sprinkle with the shredded mozzarella cheese. Place the top half of the rolls over the cheese and toppings.

Step Three: Stir the Pot

In a separate bowl, whisk together the melted butter, garlic powder, Italian seasoning, and crushed red pepper flakes (if using). Brush the butter mixture evenly over the top of the rolls. Sprinkle with the grated Parmesan cheese.

Step Four: Stir the Pot

Cover the baking dish tightly with aluminum foil and bake for 15 minutes. This step allows the cheese to melt and the ingredients to heat through.

Step Five: Finalize and Serve

Remove the foil and continue baking for another 5 minutes, or until the tops are golden brown and the cheese is melted and bubbly. Serve the sliders immediately for the best result.

Healthy Roasted Beet Salad 

Healthy Roasted Beet Salad 

An antioxidant-rich recipe with topped with a delicious grapefruit vinaigrette. 

Our Healthy Roasted Beet Salad is a perfect balance of flavors, combining earthy, sweet, and tangy notes in every bite. The salad features tender roasted beets, creamy goat cheese, sweet candied walnuts, and crisp red onion served over a bed of fresh baby greens.

A homemade grapefruit vinaigrette ties all the ingredients together, adding a bright, citrusy finish with a hint of honey and tangy Dijon mustard. While the vibrant citrus makes it a wonderful, colorful side dish for the holidays, this nutritious salad is a delicious and satisfying option to enjoy any time of year.

Our Healthy Roasted Beet Salad is a great choice because each ingredient brings powerful health benefits to the table. The beets are rich in antioxidants with anti-inflammatory properties, while the pink grapefruit provides an excellent source of Vitamins A and C to support immune function. To complete the dish, walnuts offer heart-healthy Omega-3 fatty acids, and a bed of leafy greens provides essential nutrients and fiber, making this a truly well-rounded and delicious choice.

Prep Time
15 mins
Cook Time
45-60 mins
Total Time
60- 75 mins

Servings: 4

Ingredients

What to buy at the store?

For the Salad:

  • Cooked Beets: 1 cup, cut into ½ inch cubes (See note below)
  • Baby Greens: 2 cups, packed (a mix of spinach and arugula works well)
  • Goat Cheese:  ½ cup crumbled goat cheese.
  • Walnuts: ½ cup walnuts, toasted.
  • Red Onion: ¼ cup, thinly sliced
  • Olive Oil: 1 tablespoon.
  • Salt & Pepper: To taste.

For the Vinaigrette:

  • Grapefruit Juice: ½ cup (freshly squeezed is best)
  • Olive Oil: ¼ cup extra-virgin olive oil
  • Red Wine Vinegar: 1 teaspoon
  • Honey: 1 tablespoon
  • Dijon Mustard: 1 teaspoon
  • Kosher Salt: ½ teaspoon
  • Black Pepper: ¼ teaspoon

Instructions

Step One: Roast the Beets

Preheat your oven to 400°F (200°C). Rub the beets with 1 tablespoon of olive oil, salt, and pepper. Wrap each beet individually in aluminum foil, place them on a baking sheet, and roast for 45-60 minutes, or until tender when pierced with a fork.

Step Two: Make the Vinaigrette

Combine all the vinaigrette ingredients (grapefruit juice, olive oil, vinegar, honey, Dijon mustard, salt, and pepper) in a mason jar with a lid. Shake vigorously until the dressing is well combined. Alternatively, whisk all ingredients together in a small bowl.

Step Three: Assemble the salad.

In a large bowl, add the baby greens, cubed beets, thinly sliced red onion, crumbled goat cheese, and candied walnuts or pecans.

Step Four: Combine and serve.

Drizzle about half of the grapefruit vinaigrette over the salad and toss gently to coat everything. Add more dressing as needed, to your taste. Serve immediately.

Why is this recipe a great choice?

  • Beets are rich in antioxidants called betalains, which have anti-inflammatory properties.
  • Pink Grapefruit is an excellent source of Vitamins A and C, which support immune function.
  • Walnuts are packed with Omega-3 fatty acids, which are beneficial for heart and brain health.
  • Arugula and other leafy greens are full of essential nutrients and fiber.

Simple Creamy Crab Dip.

Simple Creamy Crab Dip.

Elevate your tailgating game for the next game with a simple seafood dip.

Our Simple Creamy Crab Dip is an easy appetizer that has a rich, savory flavor. How easy is our recipe? Just combine quality ingredients to create a delicious, shareable dish with minimal complexity. It’s an ideal recipe to make when entertaining, as it can be prepared ahead of time and baked just before serving.

From a nutritional standpoint, the Simple Creamy Crab Dip offers substantial benefits. Crab is an excellent source of lean protein, which is important for building and repairing tissues. It is also rich in omega-3 fatty acids, known for their heart and brain health benefits. This dish is a great way to incorporate more seafood into your diet, supporting overall wellness while enjoying a flavorful treat this football season.

Prep Time
5 mins
Cook Time
20 mins
Total Time
25 mins

Servings:8

Ingredients

What to buy at the store?

  • 2 (6-ounce) cans crab meat, drained
  • 12 ounces cream cheese (1 ½ blocks), softened
  • 6 green onions, chopped
  • 5 tablespoons mayonnaise
  • 1 teaspoon garlic powder
  • ½ teaspoon salt
  • 1 cup shredded white cheddar or mozzarella cheese, divided
  • Sliced green onions, for garnish
  • Crackers, chips, or crostini, for serving

Instructions

Step One: Preheat the Over

Preheat your oven to 350°F (175°C).

Step Two: Combine Ingredients

In a medium bowl, combine the softened cream cheese, chopped green onions, mayonnaise, crab meat, garlic powder, salt, and ½ cup of the shredded cheese. Stir until all ingredients are well combined.

Step Three: Prepare for Baking

Spread the mixture evenly into a small 6-inch cast-iron skillet or a 1-quart baking dish. Top with the remaining ½ cup of cheese.

Step Four: Bake

Place the dish in the preheated oven and bake for 20 minutes, or until the dip is hot and bubbly.

Step Five: Brown the Top

For a golden-brown finish, turn the broiler on for 1-2 minutes until the cheese on top is browned in spots. Watch carefully to prevent burning.

Step Six: Rest and Serve

Remove the dip from the oven and let it rest for 5-10 minutes before serving. Garnish with fresh sliced green onions and serve with your choice of crackers, chips, or crostini.